
Yellow soles can make even a relatively clean pair of white sneakers look old and worn. The discoloration often appears around the rubber sidewalls, toe areas, and midsoles, sometimes developing even when the shoes have barely been worn.
The frustrating part is that ordinary soap and water do not always remove yellow marks. That is because some discoloration comes from dirt sitting on the surface, while other yellowing develops inside the rubber or foam as the material ages.
The good news is that you can often improve the appearance of yellow sneaker soles with the right cleaning approach. The key is identifying the type of discoloration before choosing a treatment.
In this guide, you will learn how to clean yellow soles on white sneakers, remove ordinary dirt and scuffs, understand when sole-whitening products may help, and avoid cleaning methods that could damage your shoes.
Quick answer: Start by cleaning the soles with a mild sneaker cleaner or diluted dish soap and a soft brush. If the yellow color remains after the surface is clean and dry, it may be oxidation or material aging rather than dirt. A suitable commercial sole-whitening product may improve some oxidized rubber, but always check material compatibility and follow its instructions.
Why Do White Sneaker Soles Turn Yellow?
Before trying to whiten your sneakers, it helps to understand why the soles become yellow in the first place.
There are several possible causes.
1. Oxidation
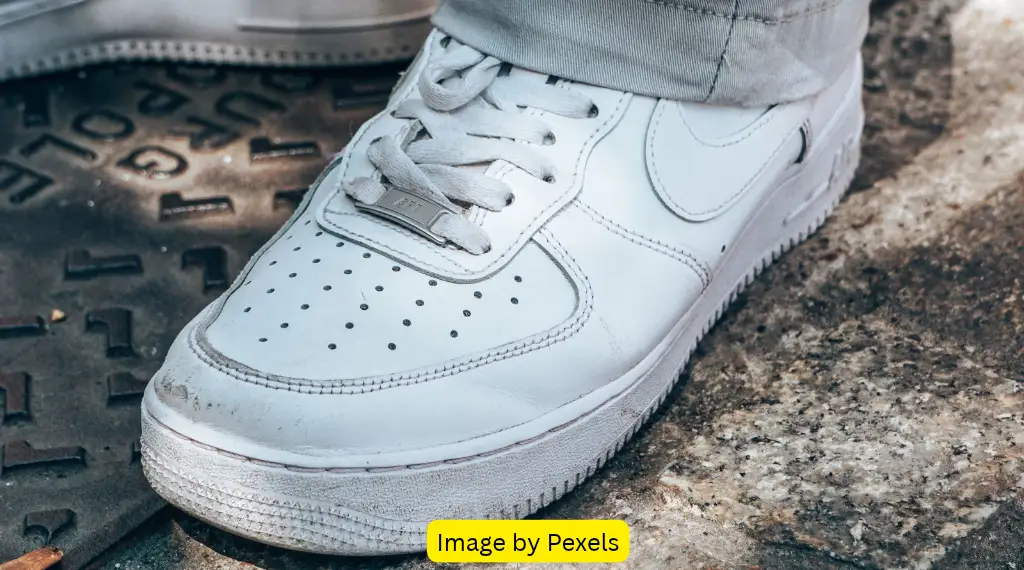
Oxidation is one of the common reasons white and translucent sneaker soles develop a yellow tint over time.
Certain rubber and foam compounds change color through chemical reactions involving oxygen, light, and aging. The result can be a yellowish appearance even when the shoes are clean.
This type of discoloration is different from ordinary dirt. Scrubbing the surface with soap will not necessarily reverse a chemical change within the material.
2. Dirt and Environmental Grime
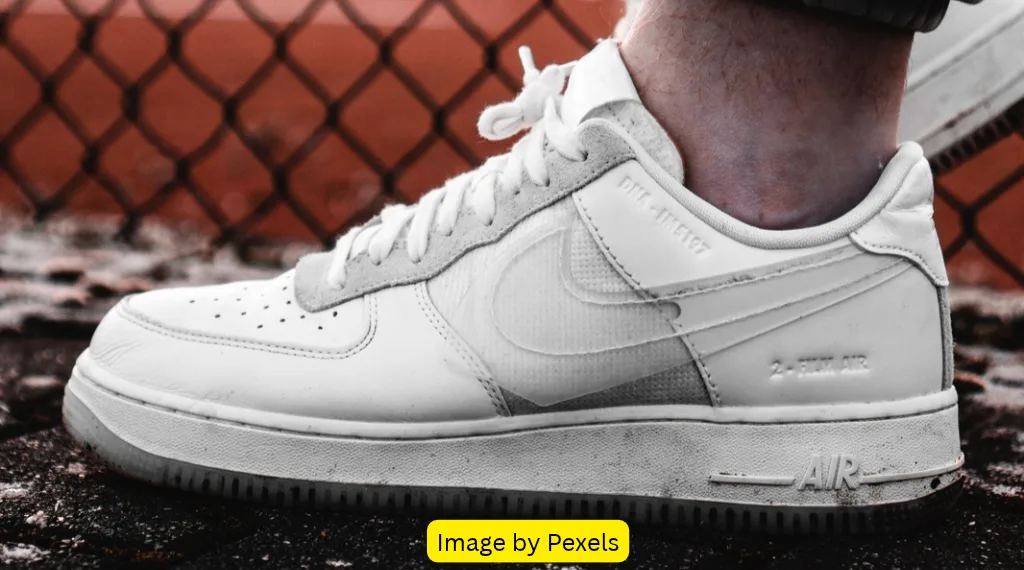
Everyday wear exposes sneaker soles to dust, mud, road residue, and other contaminants.
These materials can accumulate along the rubber sidewalls and tread, making white soles look yellow, gray, or brown.
Fortunately, surface dirt is usually easier to remove with a suitable sneaker cleaner and brush.
3. Aging Rubber and Foam
Rubber and foam materials can change appearance as they age.
Depending on the material formulation, storage conditions, exposure to light, and previous care, a once-white sole may develop a permanent or difficult-to-reverse yellow tint.
Some aged midsoles also become brittle or deteriorate. In these cases, aggressive whitening is not an appropriate solution.
4. Adhesive Discoloration
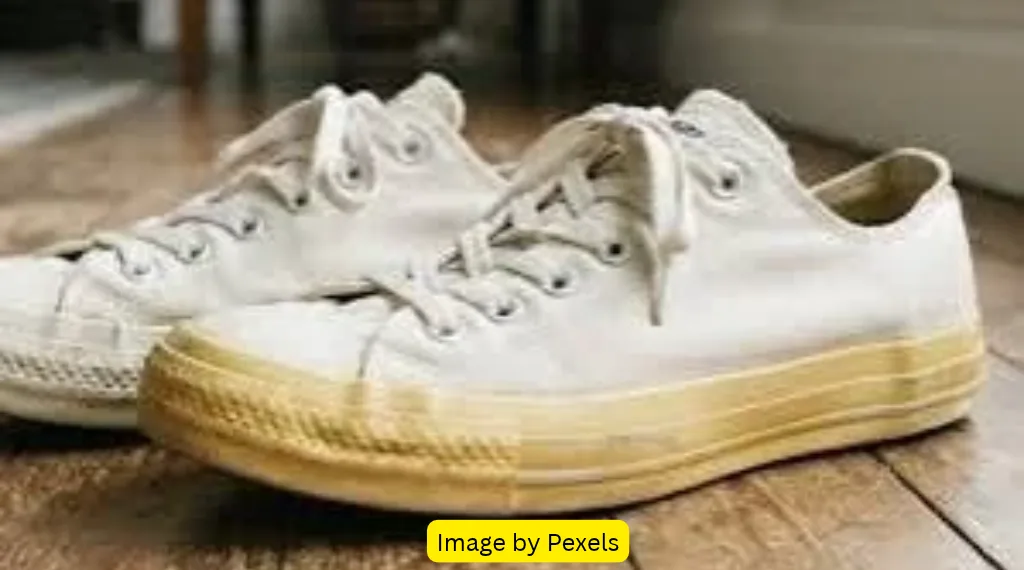
Some yellow marks appear around the area where the upper meets the sole.
These may be related to aging adhesive, material changes, or residue migrating through the shoe’s construction.
If yellowing is concentrated around seams or bonded edges, avoid applying strong whitening chemicals without professional assessment.
What You Need to Clean Yellow Soles on White Sneakers
Gather your supplies before beginning.
| Cleaning supply | Purpose |
|---|---|
| Soft-bristled brush | Removing loose dirt |
| Old toothbrush | Cleaning narrow areas and grooves |
| Microfiber cloth | Wiping away dirt and cleaning residue |
| Mild dish soap | Removing everyday grime |
| Cool or lukewarm water | Preparing a gentle cleaning solution |
| Small bowl | Mixing cleaning solution |
| Clean towel | Drying and wiping the soles |
| Sneaker-specific sole cleaner | Treating compatible rubber surfaces |
| Protective gloves | Handling chemical sole-whitening products when required |
You do not need every item for ordinary cleaning. Start with mild soap and water before considering a specialized treatment.
Important: Identify whether your sneaker has solid white rubber, translucent rubber, EVA foam, painted surfaces, or a combination of materials. A product suitable for one type of sole may not be suitable for another.
How to Clean Yellow Soles on White Sneakers Step by Step
The first goal is to remove ordinary dirt so you can see whether the yellow discoloration is actually part of the material.
Step 1: Remove Loose Dirt
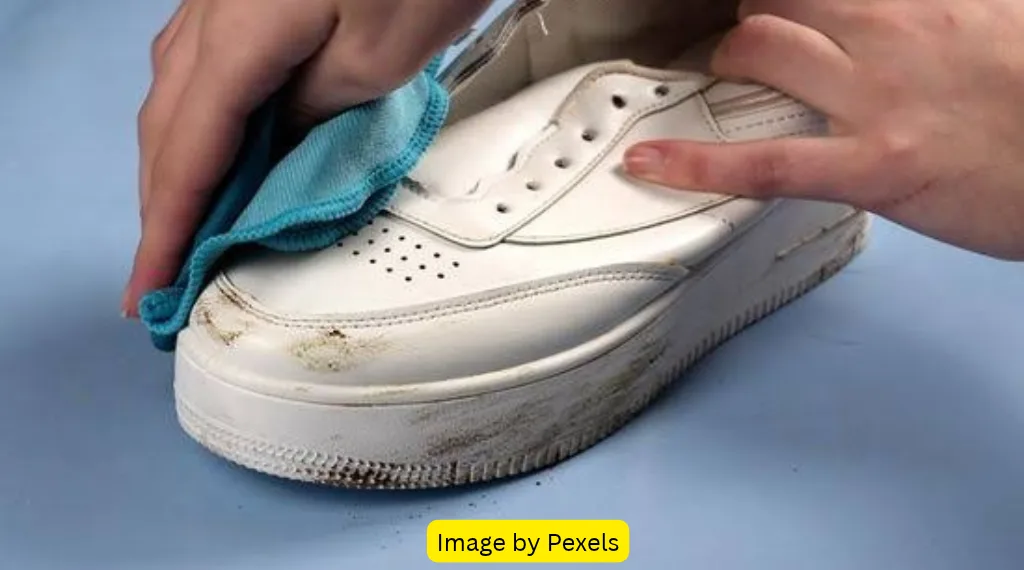
Place your sneakers on a clean surface.
Use a dry, soft-bristled brush to remove loose dust, mud, and debris from the soles.
Pay attention to:
- The rubber sidewalls.
- The toe area.
- The outsole grooves.
- The edges around the heel.
- The area where the upper meets the sole.
If mud is wet, allow it to dry before brushing so you do not spread it across the surface.
Step 2: Prepare a Mild Cleaning Solution
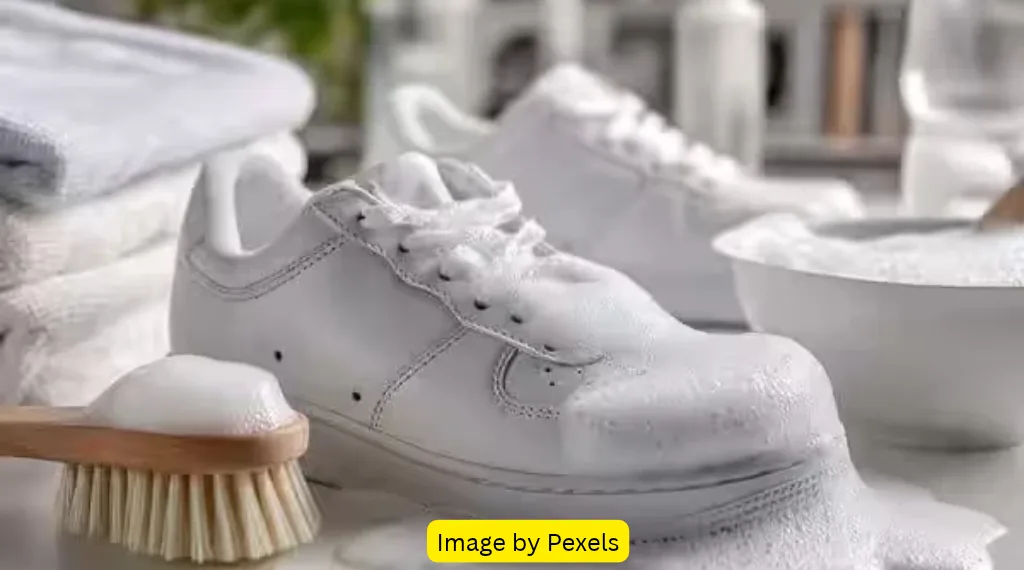
Add a few drops of mild dish soap to a small bowl of cool or lukewarm water.
Mix until the water becomes lightly soapy.
Avoid using concentrated detergent or strong household chemicals. A gentle solution is usually enough for everyday dirt.
Step 3: Scrub the Rubber Soles Gently
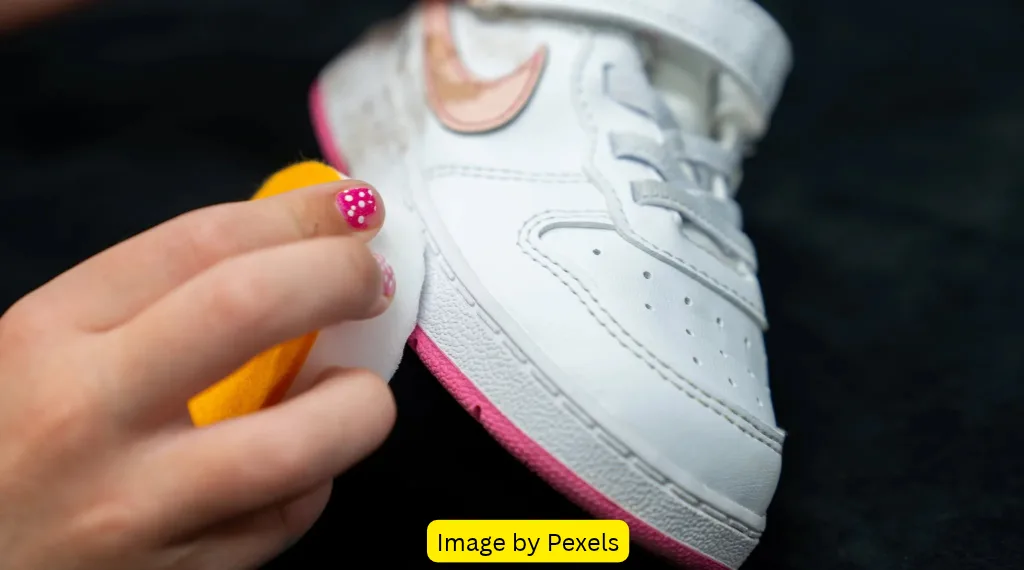
Dip a soft-bristled brush into the cleaning solution.
Remove excess water and gently scrub the rubber sole in small sections.
Focus on areas where dirt has accumulated.
For narrow grooves and textured areas, use a clean toothbrush.
Do not apply excessive pressure. The objective is to remove surface grime without wearing down the rubber or damaging nearby materials.
Step 4: Wipe Away the Dirt and Soap
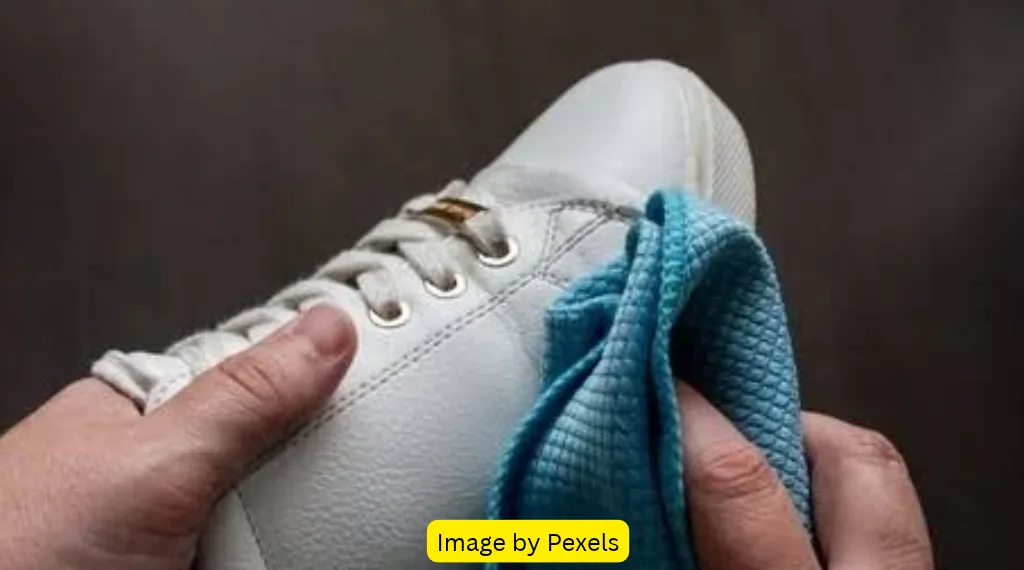
Use a clean microfiber cloth dampened with plain water.
Wipe the entire treated area to remove loosened dirt and soap residue.
Repeat the process if necessary.
Avoid soaking the shoe, especially around glued seams and foam components.
Step 5: Allow the Soles to Dry
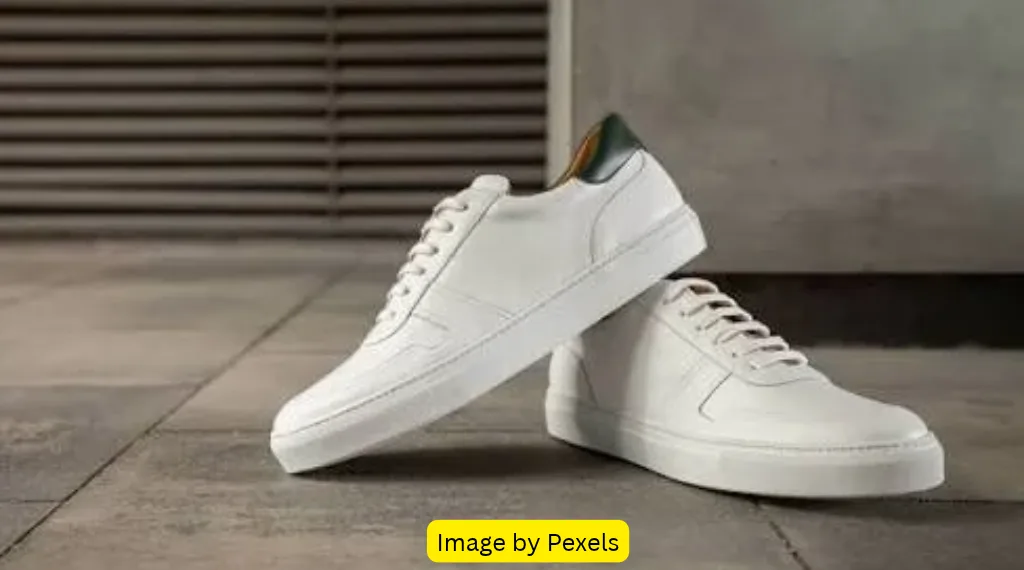
Use a clean towel to remove excess moisture.
Let the sneakers air-dry in a well-ventilated area away from direct heat.
Once completely dry, inspect the soles under good lighting.
If the yellow color has disappeared, the discoloration was likely caused by removable surface grime.
If the yellow tint remains, you may be dealing with oxidation, material aging, or adhesive discoloration.
How to Whiten Yellowed Rubber Sneaker Soles
If ordinary cleaning does not remove the yellow color, a dedicated sole-whitening product may be an option.
Some commercial sole restorers use oxygenated or peroxide-based formulations designed for compatible white or translucent rubber.
However, not every product works on every sole material.
Step 1: Identify the Sole Material
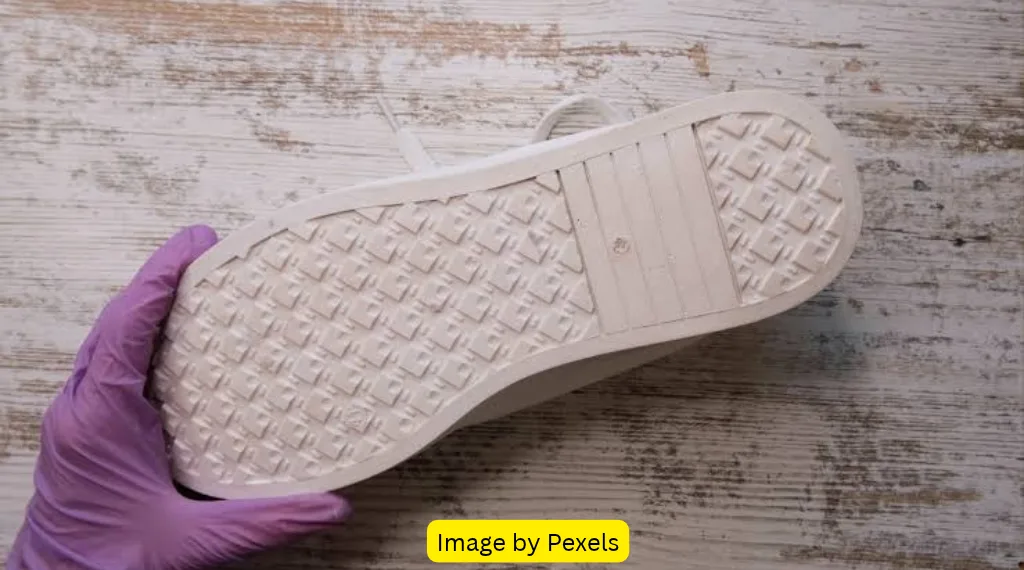
Check the manufacturer’s product information and the construction of your sneakers.
Determine whether the affected area is:
- Solid white rubber.
- Translucent rubber.
- EVA foam.
- Painted or coated material.
- A combination of rubber and foam.
Do not assume a treatment suitable for solid rubber is safe for foam, transparent components, or painted sections.
Step 2: Choose a Compatible Sole-Whitening Product
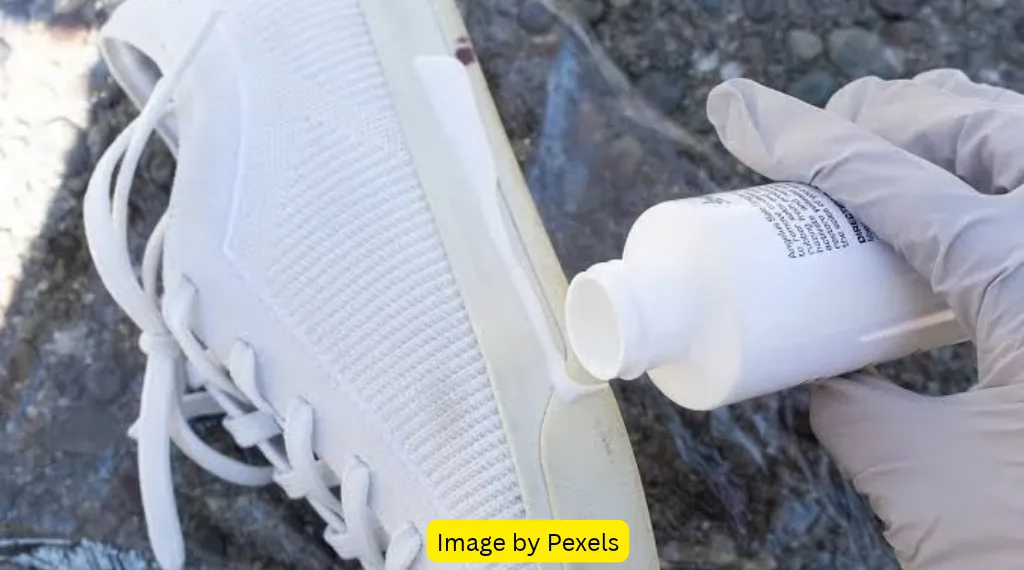
Look for a sneaker sole restorer specifically designed for your type of material.
Read the product label carefully.
Check:
- Approved materials.
- Required protective equipment.
- Application instructions.
- Recommended treatment time.
- Whether UV or sunlight exposure is required.
- Rinsing or removal instructions.
Avoid using concentrated peroxide or industrial whitening chemicals without the appropriate product guidance.
Step 3: Protect the Sneaker Upper
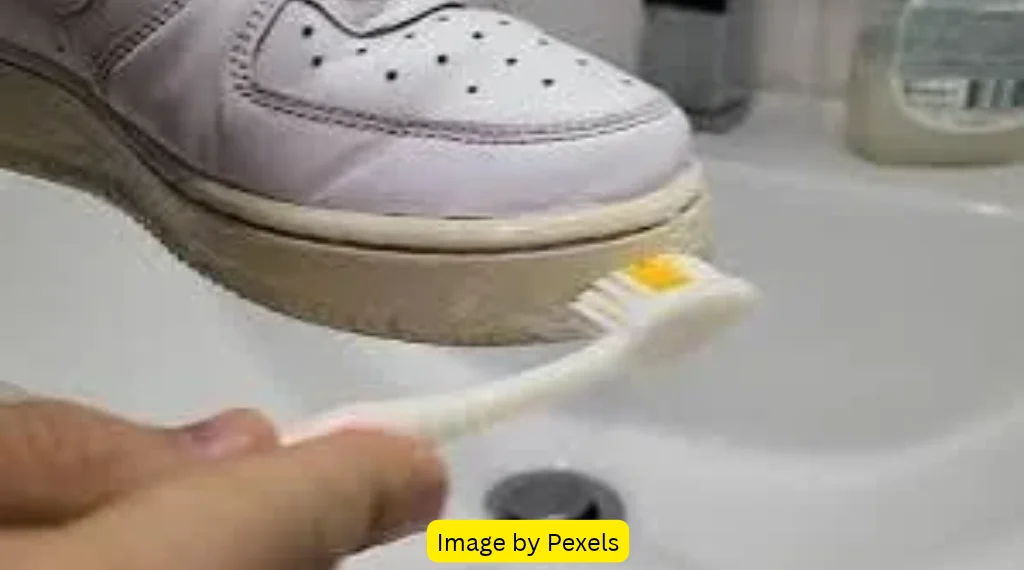
Before applying any whitening product, protect the upper and other surrounding components.
Some whitening chemicals can discolor leather, suede, mesh, fabric, colored logos, stitching, and printed details.
Use suitable protective masking only if the product instructions permit it.
Make sure the treatment remains limited to the intended sole area.
Step 4: Perform a Small Compatibility Test
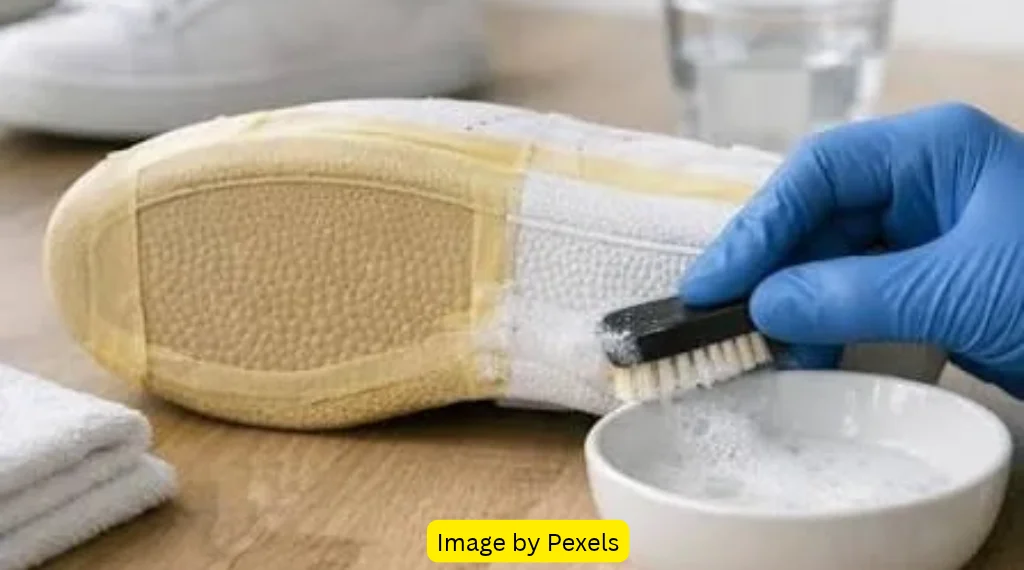
Test the product on a small, inconspicuous part of the affected sole.
Follow the manufacturer’s stated test procedure and wait the required time.
Check for:
- Uneven whitening.
- Surface changes.
- Loss of gloss.
- Softening.
- Cracking.
- Damage to nearby materials.
If the sole reacts badly, stop the treatment.
Step 5: Apply the Product According to Its Instructions
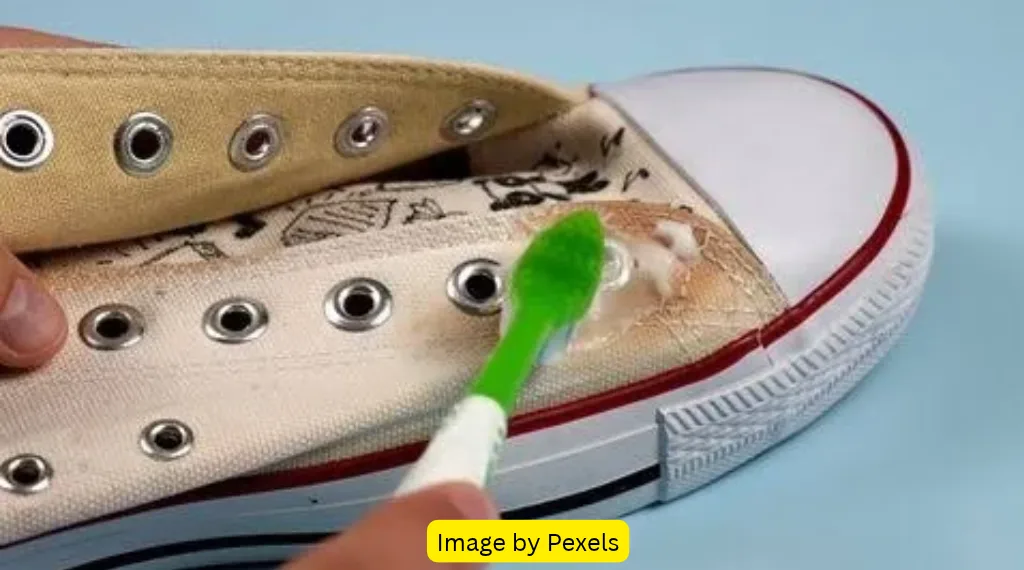
If the test is successful, apply the product using the recommended applicator.
Use the stated amount and treatment time.
Some commercial sole restorers require protective gloves, plastic covering, and controlled sunlight exposure. Others have different procedures.
Do not assume that all products should be left in direct sunlight or treated for the same number of hours.
Step 6: Remove the Product Properly
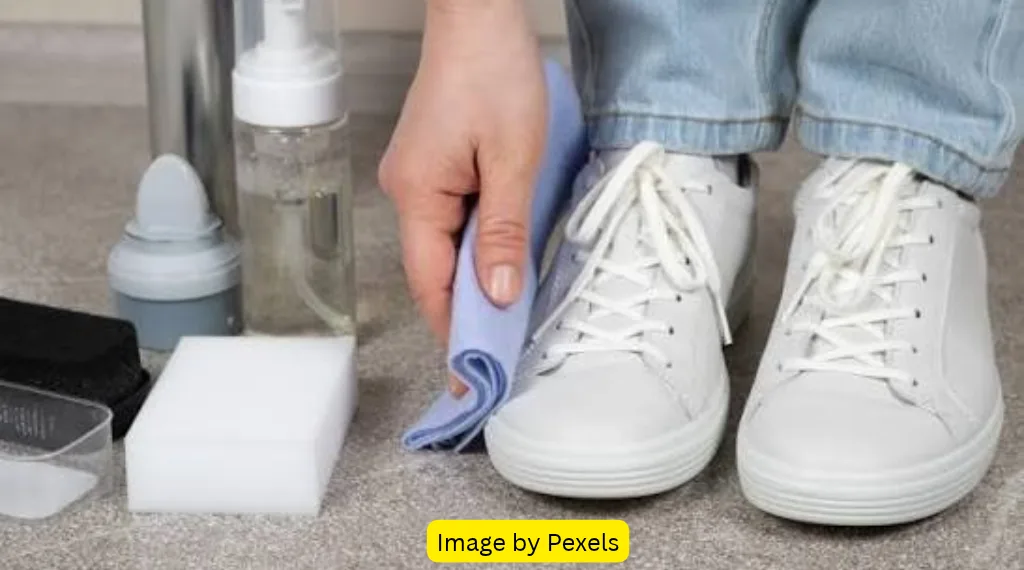
Follow the manufacturer’s instructions for removing the treatment.
Some products require wiping with a damp sponge, while others specify a different removal procedure.
Do not leave chemical residue on the sole.
Allow the sneakers to dry completely and inspect the results.
Important: Sole whitening is a cosmetic treatment, not a repair for deteriorating rubber or foam. If the sole is cracking, crumbling, separating, or becoming sticky, stop and seek professional assessment.
Can Baking Soda Clean Yellow Sneaker Soles?
Baking soda is commonly suggested as a household cleaner for white sneakers.
It can help with certain surface-cleaning tasks, but it should not be presented as a guaranteed solution for oxidized rubber.
For ordinary dirt on compatible rubber:
- Prepare a mild baking soda and water paste.
- Test it on a small, hidden section.
- Apply gently using a soft cloth or brush.
- Avoid aggressive scrubbing.
- Wipe away all residue with a clean damp cloth.
- Allow the sole to dry completely.
Baking soda is mildly abrasive, so repeated rubbing can affect some finishes.
If the yellow color is caused by oxidation within the rubber, a baking soda paste may clean the surface without restoring the original color.
Can You Use Hydrogen Peroxide on Yellow Sneaker Soles?
Hydrogen peroxide is used in some commercial sneaker sole-restoration products.
However, household peroxide should not automatically be treated as a safe or effective DIY solution for every sneaker.
Its suitability depends on:
- The peroxide concentration.
- The rubber or foam formulation.
- The condition of the sole.
- Nearby adhesives and decorative materials.
- The exposure time.
- Whether UV activation is required.
Some restoration products are specifically formulated for white or translucent rubber and include instructions for protective gloves and sunlight exposure.
Do not copy the application time or concentration from another product.
If you choose a peroxide-based treatment, use a product intended for sneaker soles and follow its complete instructions. Keep it away from skin, eyes, children, pets, and surrounding shoe materials.
Never mix hydrogen peroxide with bleach, vinegar, ammonia, or other household cleaning chemicals.
What About Toothpaste and Bleach?
Two commonly recommended household methods deserve extra caution.
Toothpaste
White toothpaste may help remove some surface marks through mild abrasion, but it is not a dependable treatment for oxidation.
Some formulas contain abrasive particles, fragrances, whitening ingredients, and other additives that may leave residue or affect delicate finishes.
For ordinary sole dirt, a suitable sneaker cleaner is a more controlled choice.
Bleach
Avoid using household chlorine bleach as a general sole-whitening treatment.
It can damage rubber, affect nearby materials, and create unwanted discoloration. It is also not a reliable solution for oxidation within the material.
Do not mix bleach with other cleaning products.
Which Cleaning Method Should You Use?
The best method depends on what is causing the yellow appearance.
| Method | Best for | Main limitation |
|---|---|---|
| Mild soap and water | Surface dirt and grime | Does not reverse oxidation |
| Baking soda paste | Some compatible surface marks | Abrasive; does not reliably remove oxidation |
| Toothpaste | Limited surface cleaning | Can leave residue and may affect finishes |
| Commercial sole restorer | Compatible oxidized rubber | Results vary by material and product |
| Professional sneaker restoration | Difficult discoloration and delicate shoes | May cost more and cannot reverse every type of aging |
| Sole recoloring | Permanent cosmetic discoloration | Changes the appearance rather than restoring the original material |
Do not choose a method simply because it is stronger. Choose it because it matches the actual problem and is compatible with your sneaker.
How to Prevent White Sneaker Soles From Turning Yellow
Although some aging is unavoidable, proper storage and maintenance can help preserve the appearance of your sneakers.
1. Clean Dirt Regularly
Wipe away visible dirt before it accumulates.
A quick cleaning routine is easier than trying to remove months of embedded grime.
2. Store Sneakers Away From Direct Sunlight
Prolonged exposure to light and environmental conditions can contribute to material aging.
Keep your sneakers in a cool, dry storage area away from direct sunlight.
3. Allow Shoes to Dry Naturally
After wearing sneakers in wet conditions, let them dry naturally in a ventilated area.
Avoid radiators, heaters, and excessive heat.
4. Avoid Harsh Cleaning Chemicals
Strong chemicals may damage rubber, foam, stitching, and adhesives.
Use products designed for your shoe materials.
5. Keep the Soles Free From Heavy Dirt
Clean the outsole and sidewalls periodically.
Use separate brushes for the upper and soles to prevent dirt transfer.
6. Follow Manufacturer Storage Instructions
Different sneaker materials require different care.
Follow the brand’s recommendations for cleaning, storage, and protection.
When Should You Stop Cleaning and Seek Professional Help?
Not every yellow sneaker sole can or should be restored at home.
Stop experimenting with cleaning products if you notice:
- Cracks developing in the rubber.
- Foam crumbling or powdering.
- Separation between the sole and upper.
- Sticky or unusually soft material.
- Yellowing concentrated around old adhesive.
- Damage to translucent or specialty finishes.
- Uneven color changes after chemical treatment.
A professional sneaker restoration service can assess whether the problem is removable dirt, surface oxidation, material aging, or structural deterioration.
Sometimes replacing or professionally recoloring a component is more appropriate than repeatedly applying whitening chemicals.
Frequently Asked Questions
1. Why do white sneaker soles turn yellow?
White sneaker soles can turn yellow because of oxidation, material aging, accumulated dirt, or adhesive discoloration. The correct cleaning method depends on the cause.
2. How do you clean yellow soles on white sneakers?
Start with mild soap, water, and a soft brush to remove surface dirt. If yellowing remains after the sole dries, it may be oxidation or material aging that requires a compatible sole-restoration treatment.
3. Can baking soda make yellow soles white again?
Baking soda may help remove some surface grime, but it does not reliably reverse oxidation inside rubber or foam. Use it cautiously because repeated scrubbing can affect certain finishes.
4. Does hydrogen peroxide whiten yellow sneaker soles?
Some commercial peroxide-based sole restorers can improve compatible oxidized rubber. Results depend on the material and product. Follow the manufacturer’s instructions rather than using an arbitrary household mixture.
5. Can I use bleach on yellow sneaker soles?
It is better to avoid household chlorine bleach. It may damage rubber, adhesives, and nearby shoe materials, and it is not a dependable solution for oxidation.
6. Why are my sneaker soles yellow even though I never wear them?
Some rubber and foam materials change color as they age. Exposure to oxygen, light, and storage conditions can contribute to yellowing even when sneakers remain unworn.
7. Can toothpaste remove yellow stains from white soles?
Toothpaste may remove limited surface marks through mild abrasion, but it cannot reliably reverse chemical yellowing. A sneaker-specific cleaner is generally a better starting point.
8. How long does it take to whiten yellow sneaker soles?
Ordinary cleaning may take only a few minutes. Specialized restoration treatments can take longer depending on the product and material. Follow the specified treatment time rather than extending it to chase a stronger result.
9. Can yellowed rubber soles become white again?
Some yellowed rubber can be cosmetically improved with a compatible restoration product. However, severe oxidation, permanent material changes, and adhesive discoloration may not be fully reversible.
10. Does sunlight make white sneaker soles yellow?
Prolonged exposure to sunlight and UV radiation can contribute to the aging and discoloration of certain sneaker materials. Avoid leaving white sneakers in direct sunlight for extended periods.
11. Should I use a Magic Eraser on yellow sneaker soles?
A damp melamine cleaning eraser may help remove some surface scuffs from compatible solid rubber. It works through abrasion, so use light pressure and test first. It will not reverse oxidation inside the material.
12. Can I prevent my white sneaker soles from yellowing?
You cannot prevent all material aging, but regular cleaning, appropriate storage, avoiding excessive sunlight, and following manufacturer care instructions can help maintain their appearance.
Final Thoughts
Yellow sneaker soles can be frustrating, especially when the rest of the shoes are still in good condition. However, the most important step is identifying what caused the discoloration.
Start with gentle cleaning for ordinary dirt and scuffs. If the yellow tint remains, consider whether oxidation, adhesive changes, or material aging are responsible before trying a stronger treatment.
Using a compatible sole-restoration product when appropriate, avoiding harsh chemicals, and storing your sneakers carefully can help keep white soles looking better for longer.
