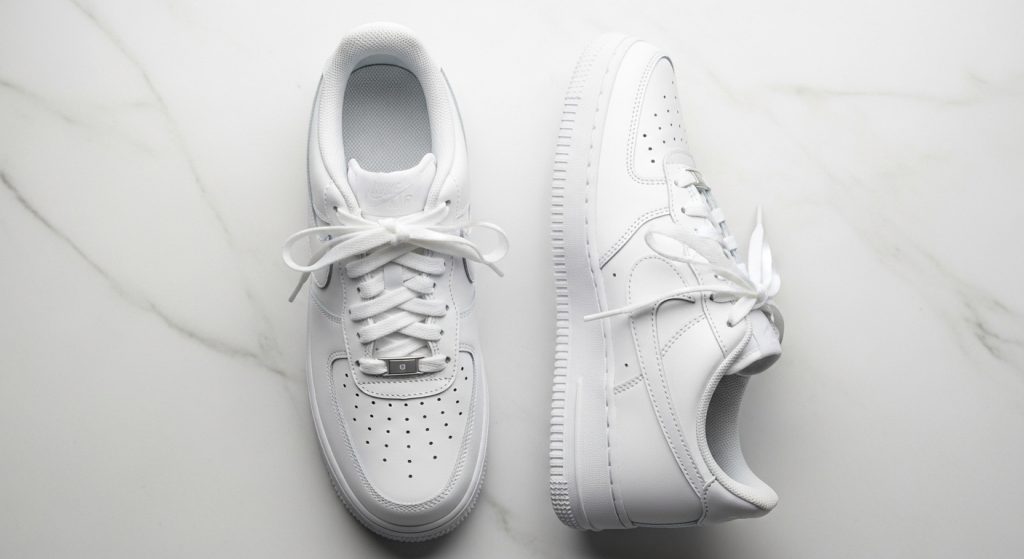
How to Clean White Leather Sneakers
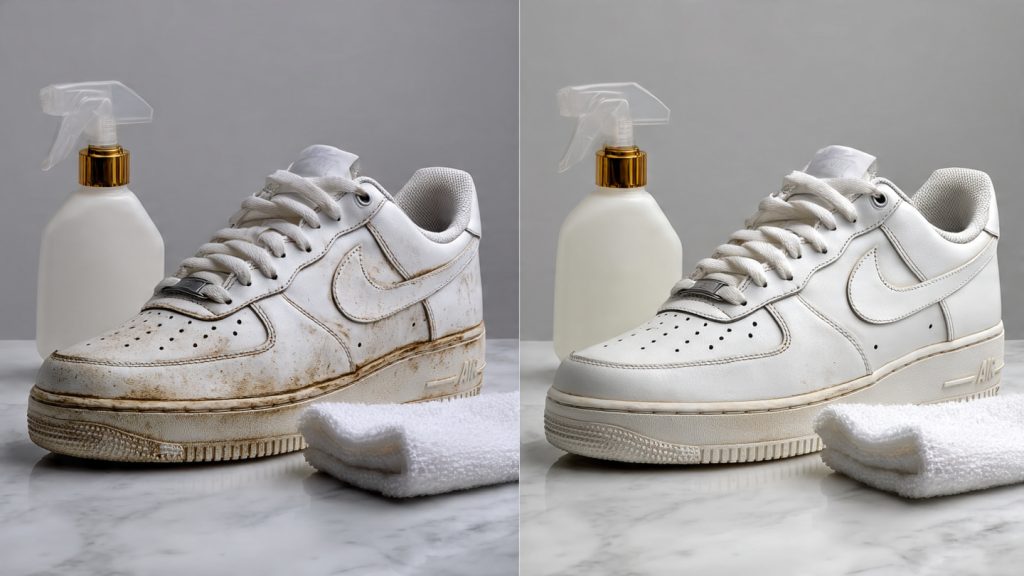
The best way to clean white leather sneakers:
- Remove laces and dry brush all loose dirt off the leather surface
- Mix a few drops of mild dish soap into warm water until slightly sudsy
- Dip a soft microfiber cloth into the solution and wring out until barely damp
- Wipe the leather in gentle circular motions section by section
- Use a Magic Eraser on scuffs and the rubber midsole
- Wipe away all soap residue with a clean damp cloth
- Air dry away from heat and sunlight
- Apply leather conditioner to restore moisture and protect the surface
White leather sneakers are the most forgiving material to clean when you use the right method — and the most easily damaged when you use the wrong one. The leather surface is smooth and non-porous which means most dirt sits on top rather than soaking in the way it does on canvas. This makes leather easier to clean in most situations. But leather is also sensitive to excess moisture, harsh chemicals and rough scrubbing — all of which cause drying, cracking and permanent damage.
This guide covers every method for cleaning white leather sneakers — from the standard soap and water routine to baking soda paste, Magic Eraser, micellar water, vinegar and professional leather cleaners. It also covers the conditioning step that most guides skip — the most important thing you can do for leather sneakers after every clean. Works on Air Force 1s, Stan Smiths, leather Converse, Common Projects and any other smooth leather sneaker.
Table of Contents
- What You Will Need
- Why Leather Needs Special Care
- Before You Start — Prep Steps
- Method 1 — Mild Soap and Water (Best for Regular Cleaning)
- Method 2 — Baking Soda and Vinegar (Best for Stains)
- Method 3 — Magic Eraser (Best for Scuffs)
- Method 4 — Micellar Water (Gentlest Method)
- Method 5 — White Toothpaste (Rubber Sections)
- Method 6 — Professional Leather Cleaner
- How to Condition Leather Sneakers After Cleaning
- How to Clean the Rubber Midsole and Sole
- Fixing Common Leather Sneaker Problems
- How to Protect White Leather Sneakers
- What Not to Do — Mistakes That Damage Leather
- How Often to Clean
- FAQ
What You Will Need
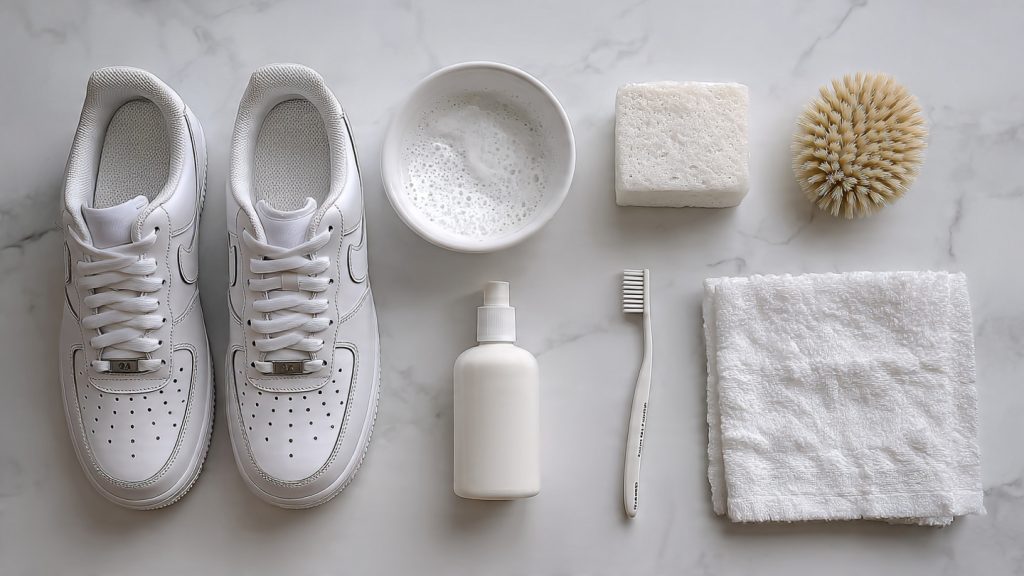
Essential tools:
- Soft microfiber cloths — white only, never colored which can transfer dye to damp leather
- Horsehair brush or soft-bristle shoe brush for dry brushing
- Old toothbrush for detail areas and eyelets
- Small mixing bowl
- Paper towels or shoe trees for drying
Household cleaning agents:
- Mild dish soap (Dawn or similar)
- White vinegar
- Baking soda
- White non-gel toothpaste
- Micellar water (optional — works extremely well on leather)
- Isopropyl alcohol (for stubborn ink or oil stains only)
Recommended products:
- Jason Markk Premium Shoe Cleaner — the most widely trusted leather sneaker cleaner used by professional sneaker restorers and collectors worldwide. Gentle on leather, powerful on dirt.
- Leather Honey Leather Conditioner — the most effective leather conditioner available for sneakers. Restores moisture, prevents cracking, maintains suppleness.
- Lexol Leather Conditioner — approved by premium leather sneaker brands including Koio. pH-balanced and safe for all smooth leather finishes.
- Mr. Clean Magic Eraser — essential for the rubber midsole and toe box scuffs
- Crep Protect Spray — apply after conditioning to create a hydrophobic protective barrier
What you should never use on leather:
- Bleach — dissolves leather fibers and causes permanent yellowing
- Acetone or nail polish remover — strips leather finish instantly
- Baking soda paste applied directly to large leather areas — mildly abrasive and drying over time
- Washing machine — agitation and water saturation permanently damage leather structure
Why Leather Needs Special Care
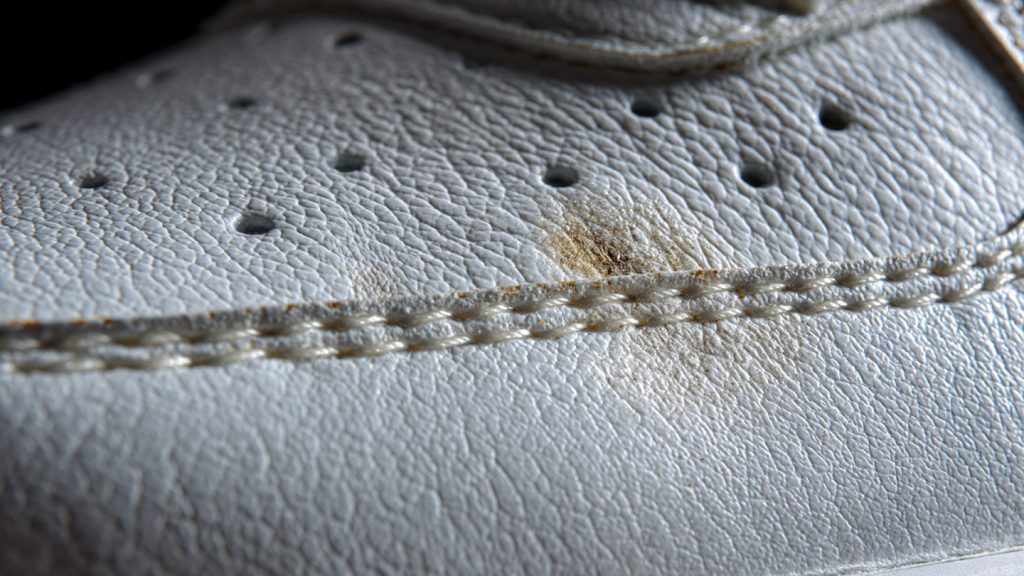
Understanding why leather needs different treatment from canvas or mesh makes every cleaning decision easier. Leather is animal skin — processed, tanned and finished — and it behaves similarly to human skin in several important ways.
Leather is a natural material that dries out. The tanning process preserves leather but it does not make it permanently supple. Over time, through cleaning, wear and exposure to the elements, leather loses its natural oils and becomes stiff and prone to cracking. Conditioning replaces those oils. A leather sneaker that is cleaned but never conditioned will eventually crack at the flex points — the toe box, the heel collar, the areas that bend most with every step.
Leather does not absorb water well. Canvas soaks up cleaning solution which is why baking soda paste works so well on it — the paste penetrates the fibers and lifts embedded stains. On leather, excess moisture sits on the surface and seeps into the seams where it weakens stitching and the adhesive bonding the upper to the sole. The cloth used to clean leather should always be barely damp, never wet.
The white finish on leather sneakers is a coating. Most white leather sneakers have a polyurethane or similar protective coating over the leather that gives them their bright white color and surface gloss. Harsh abrasives and chemicals break down this coating before they damage the leather itself — once the coating is damaged the leather underneath yellows, discolors and stains much more easily. This is why gentle methods matter so much more on white leather than on natural-colored leather.
Dirt particles act like sandpaper on leather. Every step you take while wearing dirty leather sneakers grinds the dirt particles against the leather surface — microscopically scratching and dulling it. Regular cleaning is not just about appearance. It directly extends the life of the leather.
Before You Start — Prep Steps
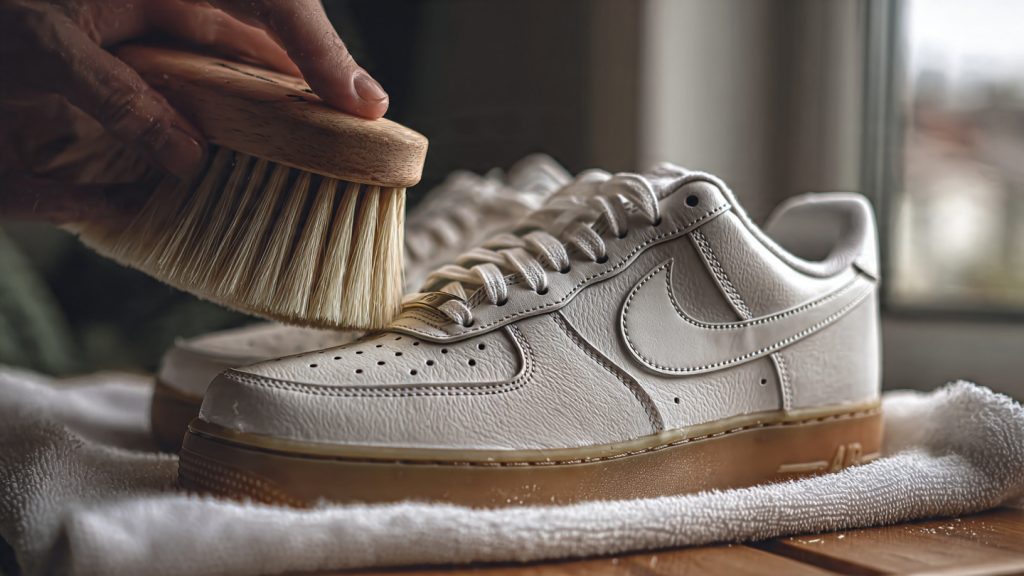
Two minutes of preparation before any wet cleaning begins makes the process significantly more effective and prevents the most common mistake — grinding surface dirt into the leather.
Step 1 — Remove laces completely. Pull them out of every eyelet and set aside. Laces need separate cleaning and their removal allows you to reach the tongue fully and clean around every eyelet — areas that collect concentrated grime on leather sneakers.
Step 2 — Remove insoles if possible. If insoles are removable take them out. Clean and air them separately. This prevents moisture from being trapped inside during and after cleaning.
Step 3 — Dry brush the entire shoe. Use a soft horsehair brush or any soft-bristle shoe brush to sweep all loose dirt, dust and dried debris off the leather surface using long gentle strokes. This step is non-negotiable for leather. Applying a wet cloth to surface dirt on leather creates a muddy paste that smears across the surface and can be pushed into the grain. Dry brush every part of the shoe — upper, tongue, heel and around the midsole — before introducing any moisture.
Step 4 — Tap the soles together. Hold both sneakers and tap the rubber soles firmly together over a bin to dislodge any packed grit or debris from the sole grooves.
Step 5 — Stuff with paper towels or shoe trees. Before cleaning, stuff each shoe firmly with white paper towels or proper shoe trees. This maintains the shape of the leather during cleaning, prevents the upper from collapsing inward and gives you a firm surface to press against while scrubbing. Shoe trees also absorb moisture during and after cleaning.
Method 1 — Mild Soap and Water (Best for Regular Cleaning)
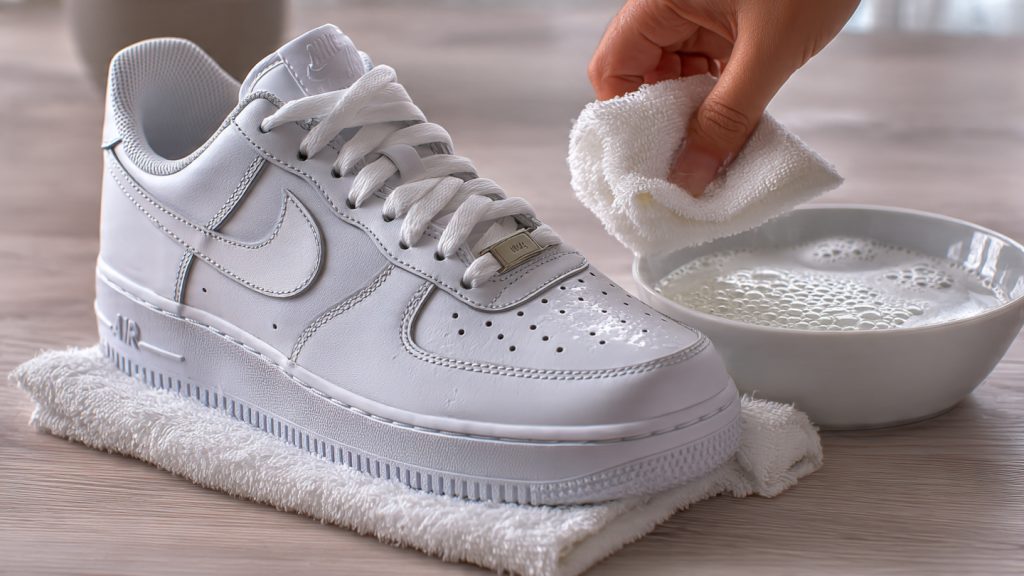
This is the safest and most universally recommended method for white leather sneakers — used by Nike, Clarks and most professional sneaker care brands as their primary guidance. It is the right method for regular maintenance cleaning and for freshly soiled shoes where stains have not yet set deeply into the leather.
What you need:
- A few drops of mild dish soap
- Bowl of warm water (not hot — heat can dry out leather)
- White microfiber cloth
- Second clean damp cloth for rinsing
Steps:
- Add 2–3 drops of mild dish soap to a bowl of warm water and mix gently until slightly sudsy. You want a light foam — not a concentrated soap solution which leaves residue.
- Dip a white microfiber cloth into the solution and wring out firmly. The cloth must be barely damp — if you wring it and water drips out it is too wet. Squeeze until no more water comes from the cloth.
- Wipe the leather upper in gentle circular motions working section by section — toe box first, then sides, then heel, then tongue.
- Apply slightly more pressure on visibly dirty areas but never scrub hard. Firm gentle pressure is all the leather needs and all it can handle without surface damage.
- Pay specific attention to the eyelet area and the seam where the upper meets the midsole — both collect compressed grime that the cloth reaches when worked carefully.
- After cleaning each section, wipe with a second clean cloth dampened with plain water only to remove all soap residue. Soap residue left on white leather dries and can cause yellowing.
- Blot — do not rub — with a dry cloth to absorb surface moisture.
- Move on to the midsole and soles separately (see the dedicated section below).
- Air dry with shoe trees or paper towels inside, away from heat and sunlight.
- Apply leather conditioner after the shoe is completely dry (see conditioning section).
Best for: Regular maintenance cleaning, freshly soiled shoes, everyday dirt and light marks Frequency: After every 2–3 wears or whenever visibly dirty
Method 2 — Baking Soda and Vinegar (Best for Stubborn Stains)
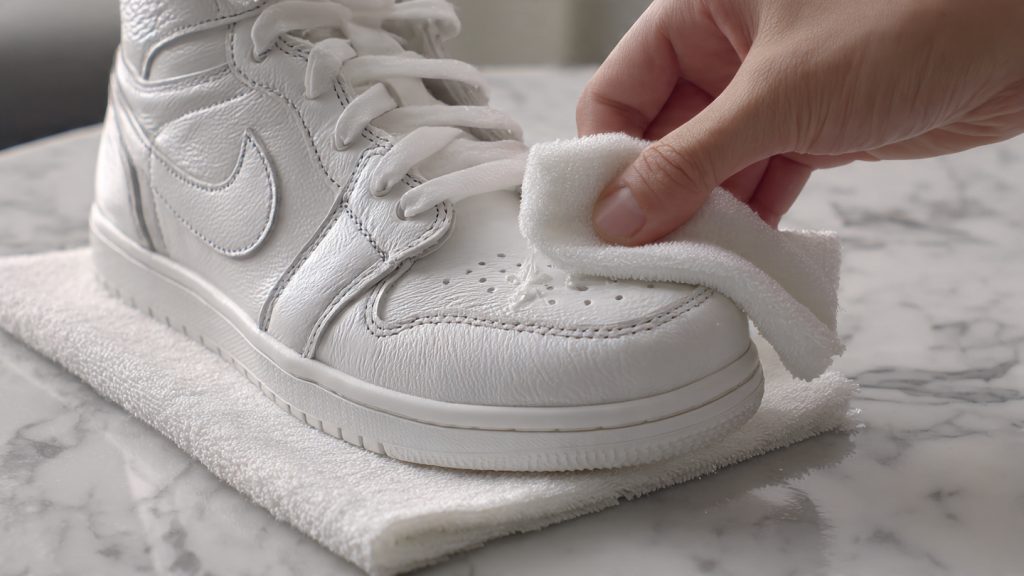
Baking soda with vinegar is effective on stubborn leather stains but should be used as a targeted spot treatment rather than applied across the full leather surface. Unlike canvas where the paste can be applied generously, baking soda has mild abrasive properties that can be drying and slightly roughening to leather over repeated full-surface applications. Use it precisely on specific stains only.
What you need:
- 1 teaspoon baking soda
- 1 teaspoon white vinegar
- 1 teaspoon warm water
- Soft cloth or very soft toothbrush
Steps:
- Mix the three ingredients into a thin paste — thinner than the canvas version. The consistency should be slightly runny, more like a cream than a thick paste.
- Apply a small amount directly to the stained area only using a soft cloth or fingertip. Do not apply to surrounding clean leather.
- Rub very gently in the smallest possible circular motions. Do not scrub — just work the paste into contact with the stain.
- Leave for 2–3 minutes maximum on leather — never 15–20 minutes as used on canvas.
- Wipe away completely with a clean damp cloth, removing every trace of the paste.
- Follow immediately with the mild soap and water method on the treated area to neutralize the vinegar.
- Dry and condition as normal.
Best for: Specific stubborn stains, mud marks, grass stains, scuff discoloration on leather Important: Never apply baking soda paste to the full leather upper as a whitening treatment the way you would on canvas. Leather does not benefit from this and repeated use can degrade the surface finish over time.
Method 3 — Magic Eraser (Best for Scuffs)
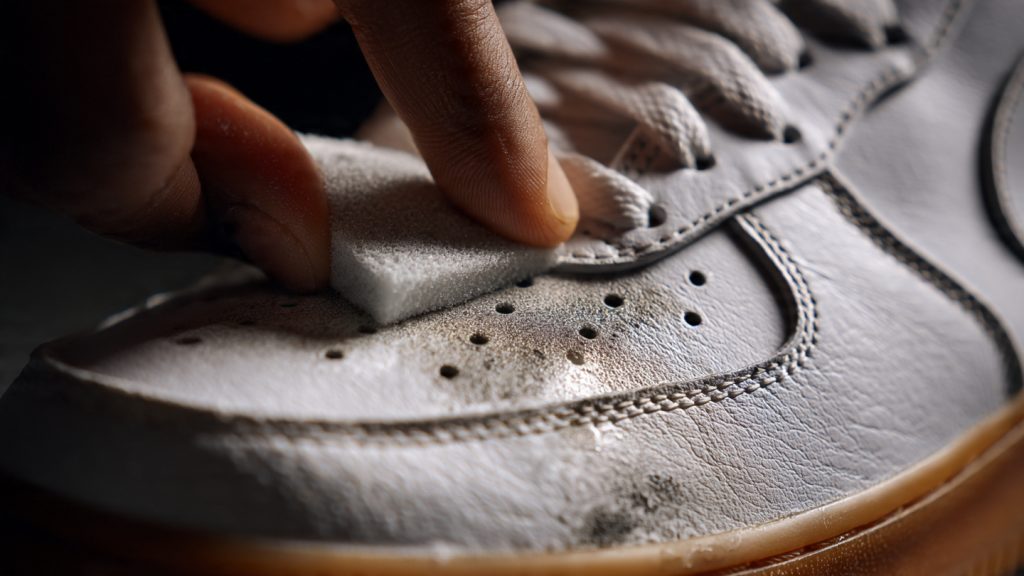
The Magic Eraser is the fastest and most effective tool for removing scuff marks from white leather — particularly from the toe box where dark rubber transfer marks are common on leather sneakers. Used correctly with minimal pressure on smooth leather it removes scuffs that soap and water cannot touch.
Important note on leather: The Magic Eraser works by micro-abrasion — it is essentially an extremely fine sandpaper. On rubber midsoles this is ideal because rubber is hard and durable. On smooth leather the same abrasion can dull the surface finish if used with excessive pressure or too frequently. Always use the lightest possible touch on leather and test on a hidden area first.
Steps:
- Dampen the Magic Eraser lightly — barely wet.
- Test on a hidden area first — the inside edge of the tongue or a hidden area near the heel. Rub once and check for any surface dulling or change in finish.
- Apply to the scuff mark using the absolute minimum pressure — let the eraser do the work, do not press.
- Use small circular motions directly on the scuff only — not across surrounding clean leather.
- After 2–3 gentle passes check progress. Most scuffs on smooth leather come off within 5–10 passes.
- Wipe the area with a clean damp cloth immediately after to remove any eraser residue.
- Apply leather conditioner to the treated area after drying — the micro-abrasion removes a tiny amount of the surface treatment and conditioner restores the protective layer.
Best for: Scuff marks, rubber transfer marks on toe box, dark marks on the leather midsole area, heel counter scuffs Use on leather with extreme care — heavy pressure or repeated use in the same spot can permanently dull the leather finish
Method 4 — Micellar Water (Gentlest Method)
Micellar water — the same product used for removing makeup — is one of the most underrated leather cleaning methods available. The micellar molecules actively attract and lift oil and dirt particles away from surfaces without any abrasion or chemical reaction. It is the gentlest possible cleaning method for white leather and is gentle enough for daily quick-clean use.
Steps:
- Pour a small amount of micellar water onto a clean white cotton pad or soft cloth.
- Wipe the leather surface in gentle strokes — no scrubbing required.
- The micellar molecules lift surface dirt, oil and light marks with a single pass.
- No rinsing required — micellar water leaves no residue.
- Allow to air dry naturally.
Best for: Daily after-wear wipe-downs, light surface dirt, oil-based marks, smudges and fingerprints, between deep cleans Why it works on leather: Micellar water is specifically recommended by Nike for Air Force 1 leather cleaning because the gentle surfactant action lifts dirt without any risk of moisture damage, abrasion or chemical interaction with the leather finish.
Method 5 — White Toothpaste (Rubber Sections Only)
White non-gel toothpaste is an excellent cleaning agent for the rubber midsole, outsole and rubber toe cap on leather sneakers — but should only be applied to rubber, never to the leather upper itself. On rubber surfaces it works as a mild abrasive polish that cleans and brightens.
Steps:
- Apply a small amount of white toothpaste directly to the rubber midsole or toe cap area.
- Scrub with a damp toothbrush in firm circular motions — rubber can handle significantly more pressure than leather.
- Work along the full length of the midsole edge, getting the toothbrush into the seam where rubber meets leather.
- Let sit for 10 minutes.
- Wipe clean completely with a damp cloth.
- Never allow toothpaste to contact the leather upper — wipe away immediately if it spreads.
Best for: Rubber midsoles, toe caps and outsoles only — not leather
Method 6 — Professional Leather Cleaner
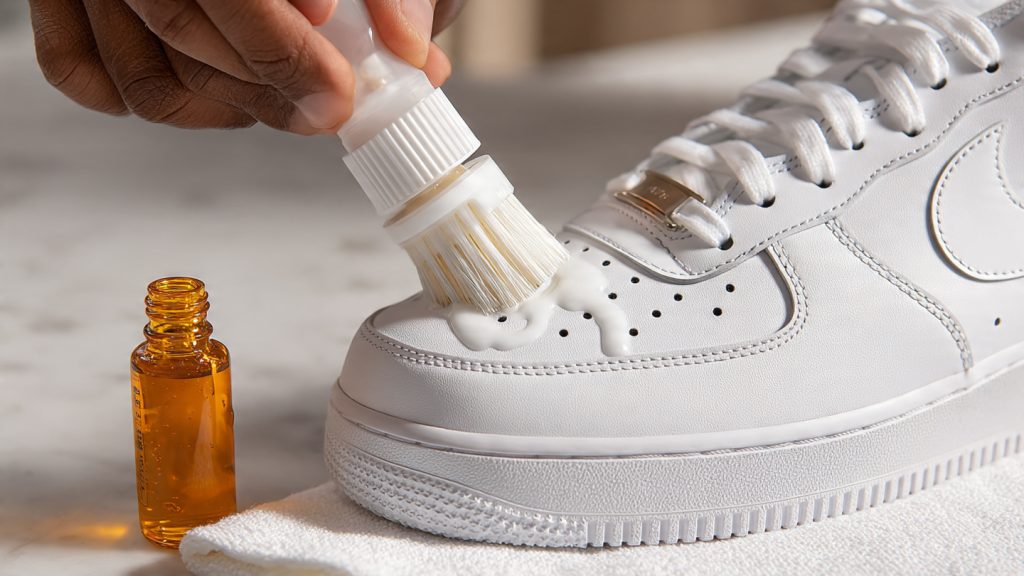
For the best possible results on white leather sneakers — especially for deep cleaning heavily soiled shoes or for restoring premium leather like Common Projects, Golden Goose or high-end Stan Smiths — a professional leather cleaner is worth the investment.
Jason Markk Premium Shoe Cleaner is the gold standard used by professional sneaker restorers worldwide. It is pH-balanced specifically for leather, safe on all leather finishes including smooth, patent and perforated leather, and produces results noticeably better than household soap methods on deep-set grime.
Steps:
- Apply a few drops of Jason Markk cleaner to the brush or directly onto the leather.
- Work the solution into the leather with the brush using circular motions — the solution creates a gentle foam that lifts dirt from the grain.
- Wipe away with a clean damp microfiber cloth.
- Repeat on any remaining stained areas.
- Allow to dry completely.
- Apply leather conditioner.
Other recommended professional products:
- Crep Protect Cure Kit — brush and solution designed for leather and canvas
- Reshoevn8r Cleaning Kit — three brush sizes for different areas including a soft brush specifically for leather uppers
How to Condition Leather Sneakers After Cleaning
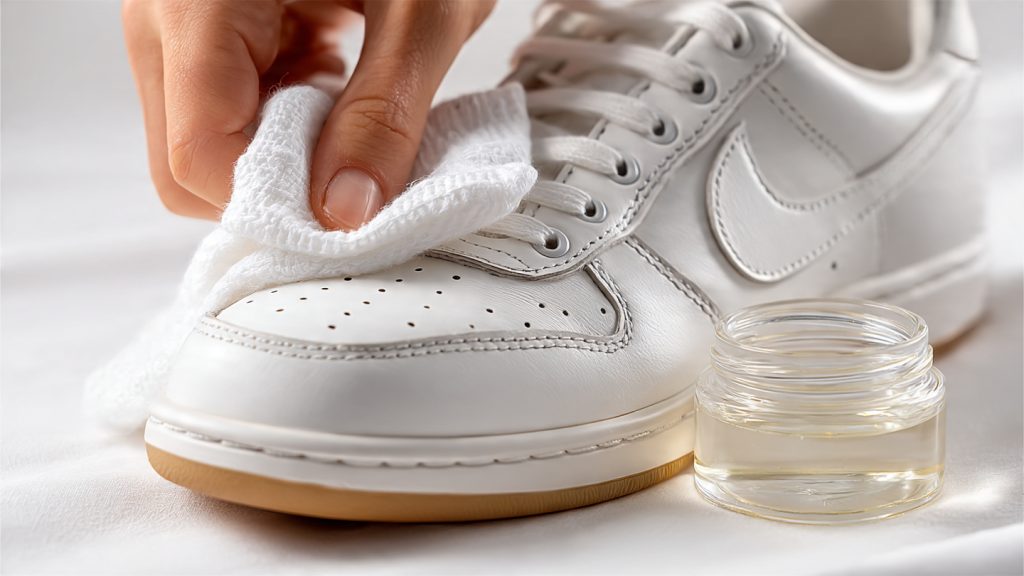
Conditioning is the step that separates people who take proper care of leather from those who simply clean it. Cleaning removes dirt. Conditioning replaces the natural oils that cleaning removes along with the dirt. Skipping conditioning consistently over months leads to leather that feels stiff, looks dull and eventually cracks — damage that no future cleaning or conditioning can reverse.
Think of it this way: leather is skin, and cleaning it strips its natural moisture the same way washing your hands strips your skin’s natural oils. You would not wash your hands and never moisturize them indefinitely. The same principle applies to leather sneakers.
When to condition: After every deep clean. For shoes worn frequently, condition once every 3–4 weeks. In dry climates or winter when central heating reduces indoor humidity, condition more frequently.
How to condition:
- Make sure the leather is completely dry after cleaning — at least 2–3 hours of air drying before conditioning. Conditioning damp leather traps moisture inside.
- Apply a small amount of leather conditioner — pea-sized for each shoe — to a clean soft cloth. Do not apply directly from the bottle to the leather.
- Work the conditioner into the leather surface using small circular motions covering the entire upper, tongue, heel counter and ankle collar.
- Pay extra attention to the flex points — the toe box crease where the leather bends with every step, the area above the midsole where the upper flexes and the heel counter. These areas lose oils fastest and crack first.
- Use a soft toothbrush or horsehair brush to work conditioner into the eyelet area and any visible seams.
- Leave the conditioner to absorb for 10–15 minutes minimum. For a deep conditioning treatment leave overnight.
- Buff off any excess with a clean soft cloth. Over-conditioning attracts dust and can leave a greasy residue — you want the leather to absorb the conditioner, not sit in a puddle of it.
- Allow a further 30 minutes before applying any protective spray.
Recommended conditioners:
- Leather Honey — all-natural formula, no harmful solvents, excellent penetration
- Lexol — pH-balanced, brand-approved by Koio and recommended by professional cobblers
- Venetian Shoe Cream — neutral formula safe for all leather colors including white
- Bick 4 Leather Conditioner — lightweight formula that does not darken leather
Important for white leather specifically: Always choose a clear or neutral conditioner. Never use a colored leather cream or polish on white leather — even a cream labeled “white” can alter the tone of the leather and cause uneven discoloration.
How to Clean the Rubber Midsole and Sole
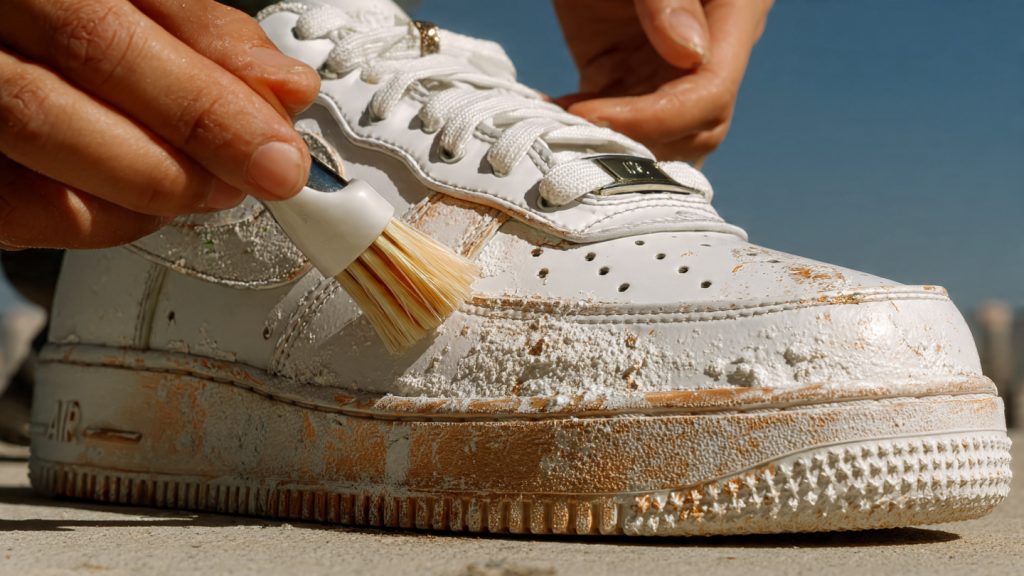
The rubber midsole and outsole require a different approach from the leather upper and can handle significantly more aggressive cleaning without risk of damage.
For the midsole (the white rubber strip between upper and outsole):
- Apply baking soda paste (1 tablespoon baking soda + 1 tablespoon water) directly to the rubber midsole with a toothbrush.
- Scrub firmly along the full length of the midsole — rubber is durable and benefits from firm pressure.
- Use the toothbrush to get into the seam where the rubber meets the leather upper — this groove collects dark compressed grime that is difficult to see but dramatically affects the overall clean appearance.
- For scuffs and oxidation yellowing, use a Magic Eraser with firm circular pressure — the rubber responds much better to the Magic Eraser than leather does and can handle the abrasion without surface damage.
- Wipe clean with a damp cloth.
For the outsole (the bottom of the shoe): Use a stiff brush with baking soda paste and scrub firmly. The outsole can handle the most aggressive scrubbing of any part of the shoe. Pay attention to the grooves where dirt packs in most densely.
Fixing Common White Leather Sneaker Problems
Yellowed White Leather Upper
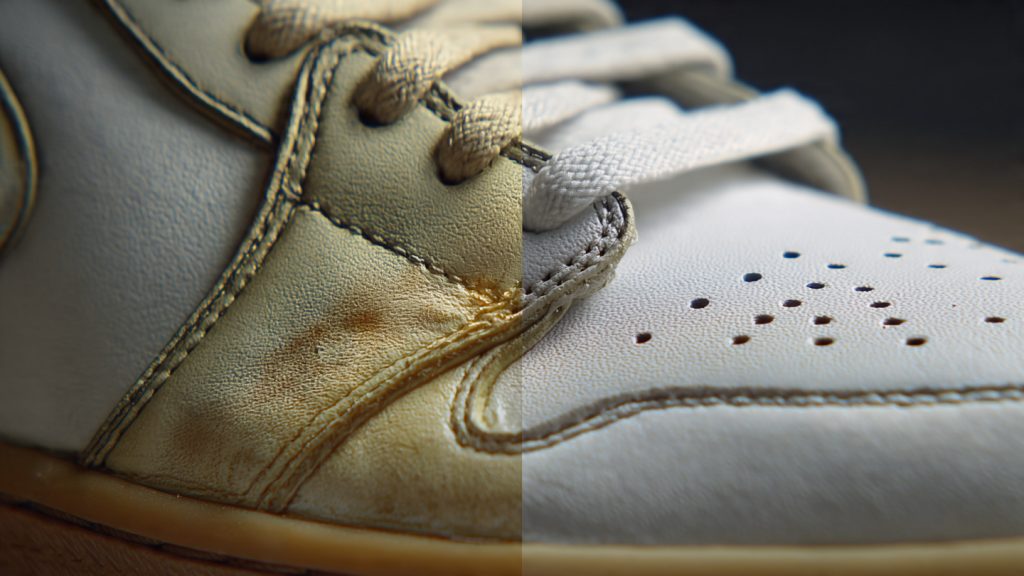
Yellowing of the white leather upper is one of the most frustrating problems with white leather sneakers and one of the hardest to fully reverse. It happens because the polyurethane coating on white leather oxidizes over time — the same chemical process that yellows rubber soles, but affecting the leather coating rather than the rubber.
What causes it: UV exposure, age, improper drying near heat sources, sweat absorption over time and — critically — cleaning product residue left on the surface before drying.
Treatment: For mild yellowing, a thorough clean with Jason Markk or mild soap followed by a quality leather conditioner sometimes restores enough surface brightness to make the yellowing much less visible. The conditioning restores the leather’s natural sheen which optically brightens the white finish.
For moderate yellowing, a targeted application of white leather cream or white shoe polish (not bleach-based) applied to the yellowed area with a soft cloth can restore the white appearance by physically depositing white pigment into the surface coating. Products like Angelus White Leather Paint or Tarrago White Shoe Cream applied carefully can significantly restore yellowed white leather.
For severe yellowing, professional sneaker restoration is the most effective option. Sneaker restoration services can re-coat the leather upper with fresh white paint applied by an airbrush which completely restores the original color. This is the approach used by serious collectors on valuable white leather sneakers.
Deep Scuffs That Do Not Come Off
Surface scuffs on white leather — the grey or dark marks left by contact with other surfaces — almost always come off with a Magic Eraser used with light pressure. If a scuff remains after Magic Eraser treatment it is likely a deep scratch that has broken through the surface coating into the leather itself rather than a surface mark.
For deep scratches, white leather touch-up paint (Angelus Leather Paint in white or Tarrago Color Dye) applied with a fine brush fills the scratched area and restores the visual uniformity of the surface. Apply in thin layers, let each layer dry before applying the next. A final coat of leather conditioner blends the repair with the surrounding surface.
Salt Stains from Winter Weather
White leather sneakers worn in salted winter conditions develop distinctive white tide-mark stains where the salt dries on the leather surface. These look similar to water staining but require specific treatment.
Mix equal parts white vinegar and water. Dampen a clean cloth with the solution and wipe the salt stain firmly — the acidity of the vinegar dissolves the salt deposits. The stain should lift on the first or second pass. Wipe with a plain damp cloth immediately after to remove vinegar. Condition the leather thoroughly after treating salt stains as salt is very drying to leather.
Cracking at the Toe Box
Cracking of the leather at the toe box is the most common form of leather damage on sneakers and is almost entirely caused by insufficient conditioning. The toe box bends most with every step and the leather in this area loses its oils fastest.
For early-stage cracking where the cracks are superficial surface cracks in the finish coating, deep conditioning with multiple applications of leather conditioner over several days can reduce the visibility of cracks and prevent them from deepening. The conditioner restores flexibility to the leather so it no longer cracks further with each flex.
For deep structural cracks that penetrate fully through the leather, leather filler products (Leather Doctor Filler or similar) can fill and smooth the cracks before painting and conditioning. This is professional territory but achievable at home with patience.
Prevention is the only truly effective solution — condition regularly, use shoe trees between wears to maintain the toe box shape without stress, and avoid leaving leather sneakers in positions that crease or fold the toe box.
Ink and Oil Stains
Ink stains on white leather respond to isopropyl alcohol (rubbing alcohol) — apply to a cotton ball and dab the stain without rubbing. The alcohol dissolves the ink solvent. Do not rub which spreads the stain. Dab repeatedly until the stain lifts then wipe clean with a damp cloth and condition.
For oil or grease stains, apply a small amount of cornstarch or talcum powder directly to the stain and leave overnight. The powder absorbs the oil from the leather. Brush off completely then clean with mild soap solution and condition.
How to Protect White Leather Sneakers After Cleaning
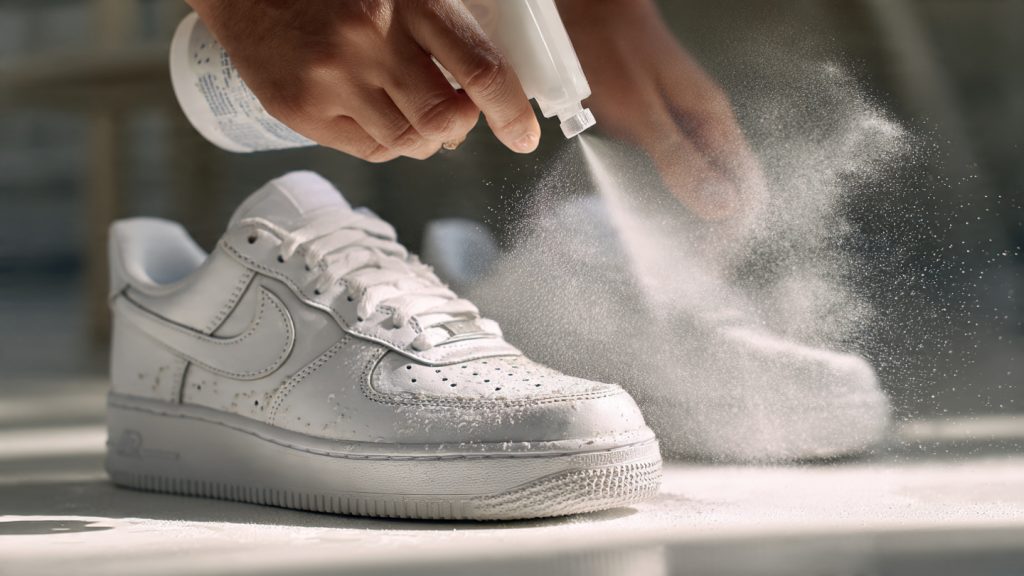
Cleaning and conditioning handle the reactive side of leather care. Protection handles the preventive side — and prevention is always more effective than cure with white leather.
Apply a water and stain repellent spray after every clean and conditioning session. Allow the conditioner to fully absorb first (30 minutes minimum) before applying protector spray — applying spray over fresh conditioner prevents proper adhesion. Choose a silicone-free formula specifically designed for smooth leather. Crep Protect Spray and Jason Markk Repel are both safe for leather and create an effective hydrophobic barrier.
Use shoe trees between every wear. Cedar shoe trees serve three purposes simultaneously — they maintain the toe box shape preventing the leather from creasing and cracking, they absorb moisture from the interior preventing odor and they keep the shoe in its intended form rather than collapsing flat. For white leather sneakers that represent a significant investment this habit is the single most impactful storage practice.
Wipe after every wear. A 30-second wipe with a barely damp cloth after removing white leather sneakers removes fresh surface dirt, dust and light marks before they have any time to set into the leather. This keeps leather cleaner between proper washes and significantly extends the time between deep cleans.
Store away from direct sunlight. UV exposure is a primary cause of white leather yellowing during storage. Keep leather sneakers in a breathable cotton shoe bag or their original box in a cool location away from any windows.
What Not to Do — Mistakes That Damage White Leather Sneakers
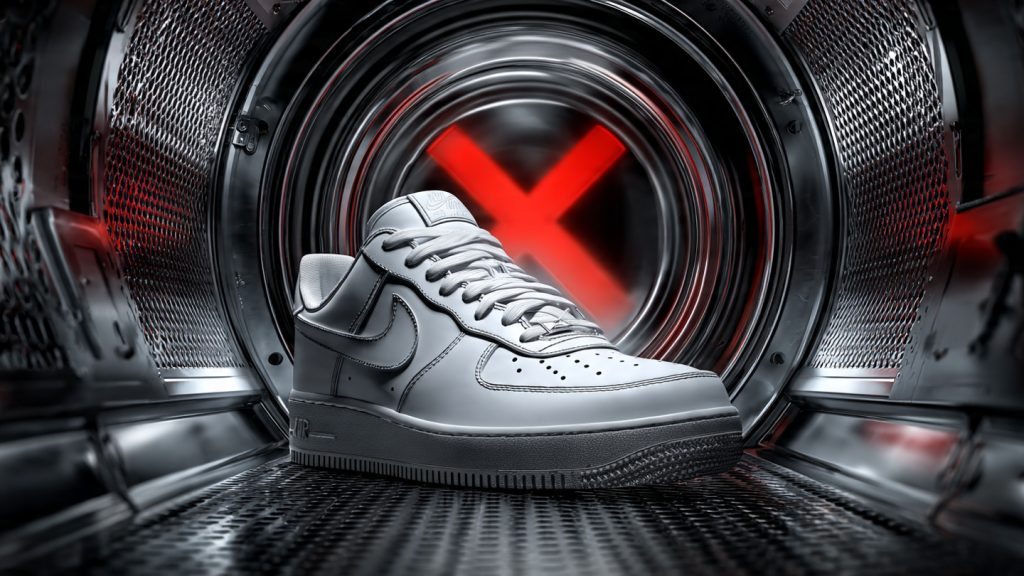
Never machine wash leather sneakers. This is the most damaging mistake possible. The agitation and water saturation warps the leather shape permanently, weakens and dissolves the adhesive bonding the sole to the upper, strips all natural oils from the leather causing immediate stiffening and increases the chance of cracking dramatically. White leather sneakers destroyed by a single machine wash cycle cannot be restored.
Never use bleach on leather. Bleach dissolves both the polyurethane surface coating and the leather fibers underneath, causing immediate discoloration, permanent yellowing and structural weakening of the leather. There is no concentration of bleach that is safe on leather uppers.
Never put leather sneakers in the dryer. The heat contracts leather dramatically — shoes can emerge from a dryer cycle half a size smaller with severe cracking and permanently damaged soles. Always air dry at room temperature.
Never dry in direct sunlight. UV exposure causes white leather coating to yellow and the heat from concentrated sunlight can dry out leather as aggressively as artificial heat sources. Always air dry in shade with good ventilation.
Never use a colored cloth. Colored cloths — especially darker ones — transfer dye to damp leather surfaces, creating permanent staining that is very difficult to remove. Use only white or very light-colored cloths on leather sneakers.
Never skip conditioning. A leather sneaker that is cleaned regularly but never conditioned will crack within months of regular wear. Cleaning without conditioning is the single most common cause of premature leather damage.
Never use acetone or nail polish remover. These solvents dissolve the leather surface coating instantly and permanently. Even a brief accidental contact creates a dull spot that cannot be reversed without professional re-coating.
How Often Should You Clean White Leather Sneakers
The leather cleaning and care schedule differs from canvas because leather requires conditioning as part of the routine — not just cleaning.
After every wear: Wipe with a barely damp cloth or a micellar water wipe to remove surface dust and light marks. Takes 30 seconds. This daily habit prevents most staining from ever setting.
Every 2–3 weeks of regular wear: Full mild soap and water clean followed by conditioning. This is the core routine that keeps leather in good condition long-term.
Every 4–6 weeks: Deep clean using Jason Markk or professional cleaner followed by thorough conditioning and protective spray reapplication. Inspect the leather for any developing cracks at the toe box and treat early with extra conditioning.
Immediately: After rain or snow exposure — salt from roads is especially damaging. After any mud or significant soiling. After any staining incident — oil, ink, food. The sooner a stain is treated on leather the more completely it comes out.
FAQ
What is the best way to clean white leather sneakers? The best everyday method is mild dish soap diluted in warm water applied with a barely damp white microfiber cloth in gentle circular motions. This is safe for all smooth leather finishes, removes regular dirt and grime effectively and does not strip the leather’s natural oils when used with restraint. Follow with leather conditioner after every clean for best long-term results.
Can I put white leather sneakers in the washing machine? No — never machine wash leather sneakers. The agitation, water saturation and heat permanently warp the leather shape, dissolve the adhesive bonding sole to upper and strip all moisture from the leather causing immediate stiffening and cracking. Machine washing destroys leather sneakers beyond repair.
How do I remove scuff marks from white leather sneakers? A barely damp Magic Eraser applied with minimal pressure removes most scuff marks from smooth white leather within a few gentle passes. For deep scratches that break through the surface coating, white leather touch-up paint (Angelus White or Tarrago Color Dye) applied in thin layers with a fine brush fills and restores the damaged area visually.
How do I get white leather sneakers white again after yellowing? For mild yellowing, a thorough clean and deep conditioning session with multiple conditioner applications can improve brightness. For moderate yellowing, white leather cream or white shoe polish applied carefully to yellowed areas deposits white pigment back into the surface coating. For severe yellowing, professional sneaker restoration with airbrushed white leather paint is the most effective solution.
Do I need to condition leather sneakers after cleaning? Yes — conditioning is essential after every clean. Cleaning removes dirt but also strips some of the leather’s natural oils. Conditioning replaces those oils, maintains suppleness, prevents cracking and extends the life of the leather significantly. Leather that is cleaned but never conditioned will crack and become stiff within months of regular wear.
How do I remove salt stains from white leather sneakers? Mix equal parts white vinegar and water, dampen a cloth with the solution and wipe the salt stain firmly — the acidity dissolves the salt deposits. Wipe with a plain damp cloth immediately after to remove the vinegar. Condition thoroughly after treating salt stains as salt is highly drying to leather.
Can I use baking soda on white leather sneakers? Use baking soda only as a targeted spot treatment on specific stains — not applied across the full leather surface. Mix a small amount with water and vinegar into a thin paste and apply only to the stained area for 2–3 minutes maximum before wiping clean. Baking soda is mildly abrasive and drying on leather if used repeatedly across the whole surface.
What is the best product for cleaning white leather sneakers? Jason Markk Premium Shoe Cleaner is the most widely trusted product among professional sneaker cleaners and collectors for leather sneakers. It is pH-balanced, safe on all leather finishes and produces noticeably better results on deep-set grime than household soap. For conditioning, Lexol and Leather Honey are both excellent leather conditioners that maintain suppleness without darkening white leather.
More Guides on HowToCleanWhiteSneakers.com
Clean by brand:
- How to Clean White Air Force 1s
- How to Clean White Converse
- How to Clean White Vans
- How to Clean White Stan Smiths
- How to Clean White New Balance
- How to Clean White Nike Shoes
- How to Clean White Adidas
Clean by material:
- How to Clean White Sneakers
- How to Clean White Converse
- How to Clean White Canvas Shoes
- How to Clean White Mesh Sneakers
- How to Clean White Suede Shoes
Fix the problem:
- How to Get Yellow Stains Out of White Shoes
- How to Get Scuffs Off White Shoes
- How to Remove Grass Stains from White Shoes
- How to Get Mud Off White Shoes
- How to Clean Smelly Sneakers
- How to Clean White Shoelaces
- How to Clean White Shoes with Baking Soda
Protect and maintain:
- How to Keep White Shoes Clean
- How to Protect White Shoes
- How to Store White Sneakers